
bending conduit with a pipe bender
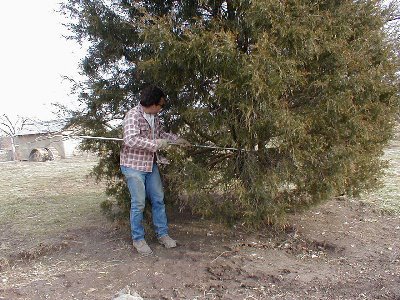
Using a tree to bend conduit (this tree was NOT sturdy and we broke it a few minutes after this picture was taken so if you go this route use a STURDY Tree)
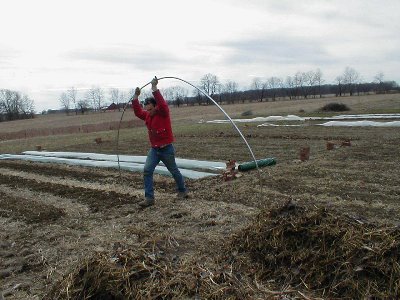
Erecting part of a section (i.e. 2 pieces of conduit bent and fasten together with a connector)
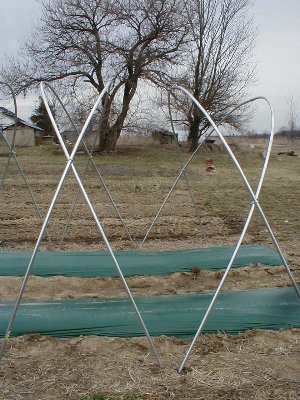
Two complete sections. These would have rebar driven in to the ground at a complementary angle that the conduit would slip over and be anchored to the ground.
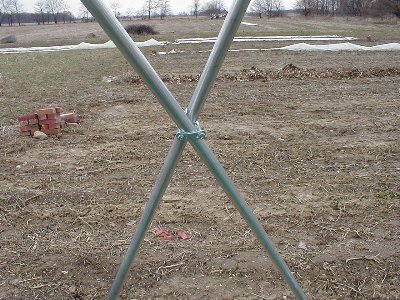
Detail of how two sections are connected together
Stay Tuned for Part 3 Coming very very soon
1 comment:
Hey, thanks for checking out my polytunnel! Yours looks great. I had considered building one just like this, but time and money prevented it.
I decided to make my structure not as perminent as I would like at some point, but go for portability in case we move at some point soon.
As far as plastic, I went with common builders 6 mil visqueen. I seemed it together in the middle with an iron. It cost $50 as should last one season. I couldn't resist trying it. I am hoping the milky white appearance will difuse the sun and make it a bit more even inside.
I have just begun planting in the tunnel--I'll be blogging about it soon. With the outdoor temperatures hovering around freezing the inside is usually 65-70 during the day with soil temps of 60. Outside soil temp is 40.
Post a Comment